
Go to the Settings Page #
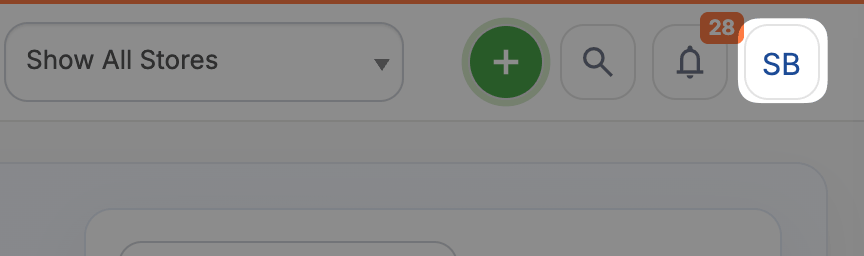
Open the Settings page by clicking your name in the top right and then Settings.

Go to the Manage Users Page #
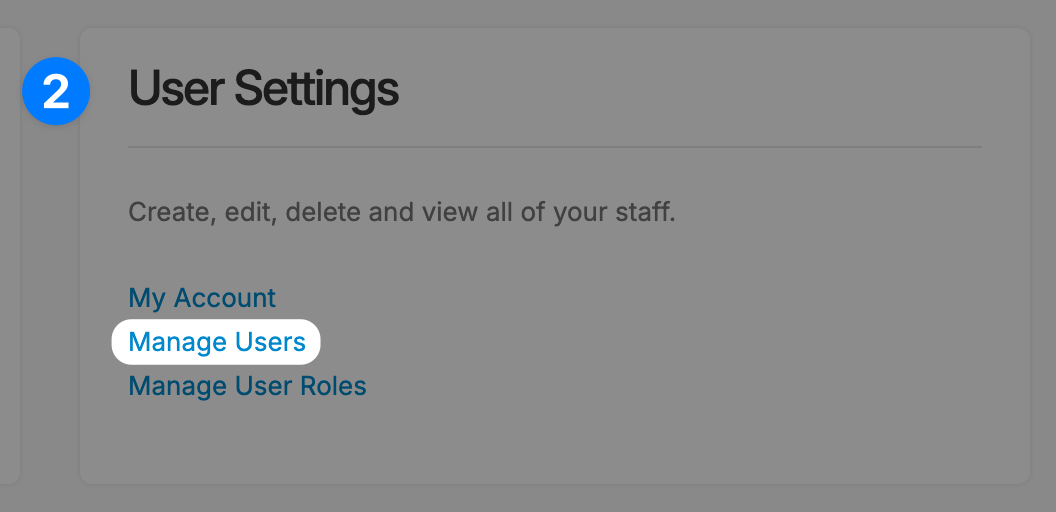
From the Settings page, find the User Settings section and click on the Manage Users link.
Add a new User or Edit an Existing One #
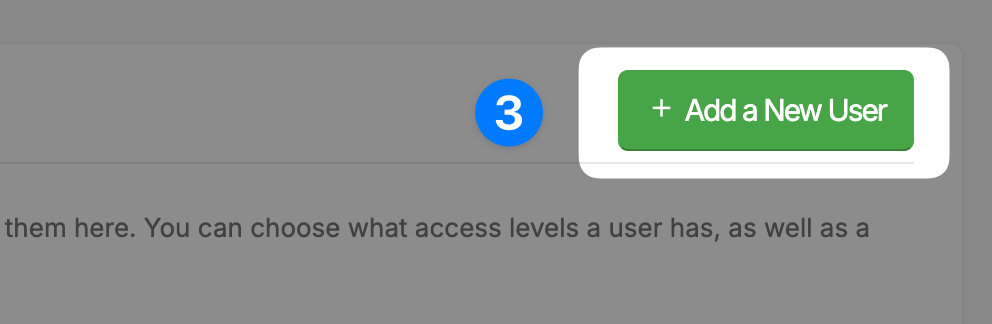
If you are adding a new User, simply click the Add a New User button, or click on the User you wish to edit in the table.
Set the User’s Profile Picture #
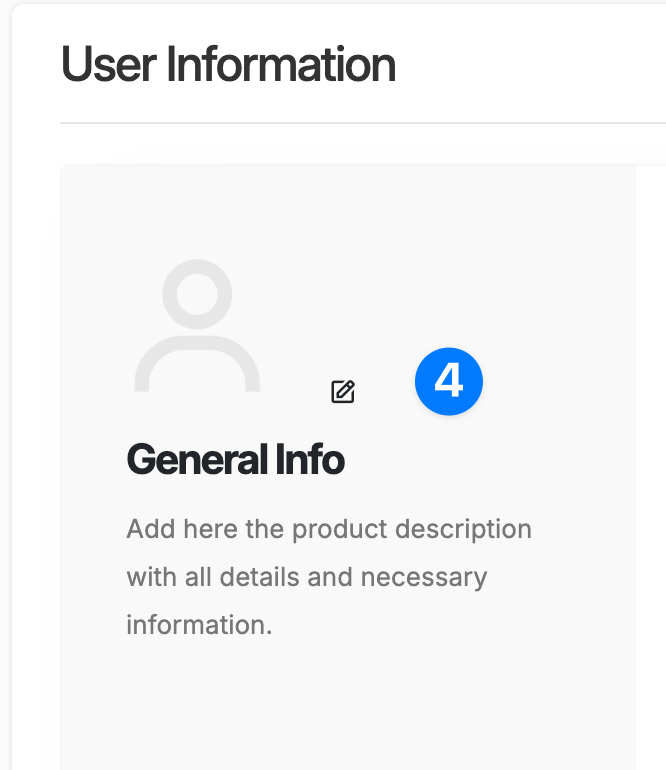
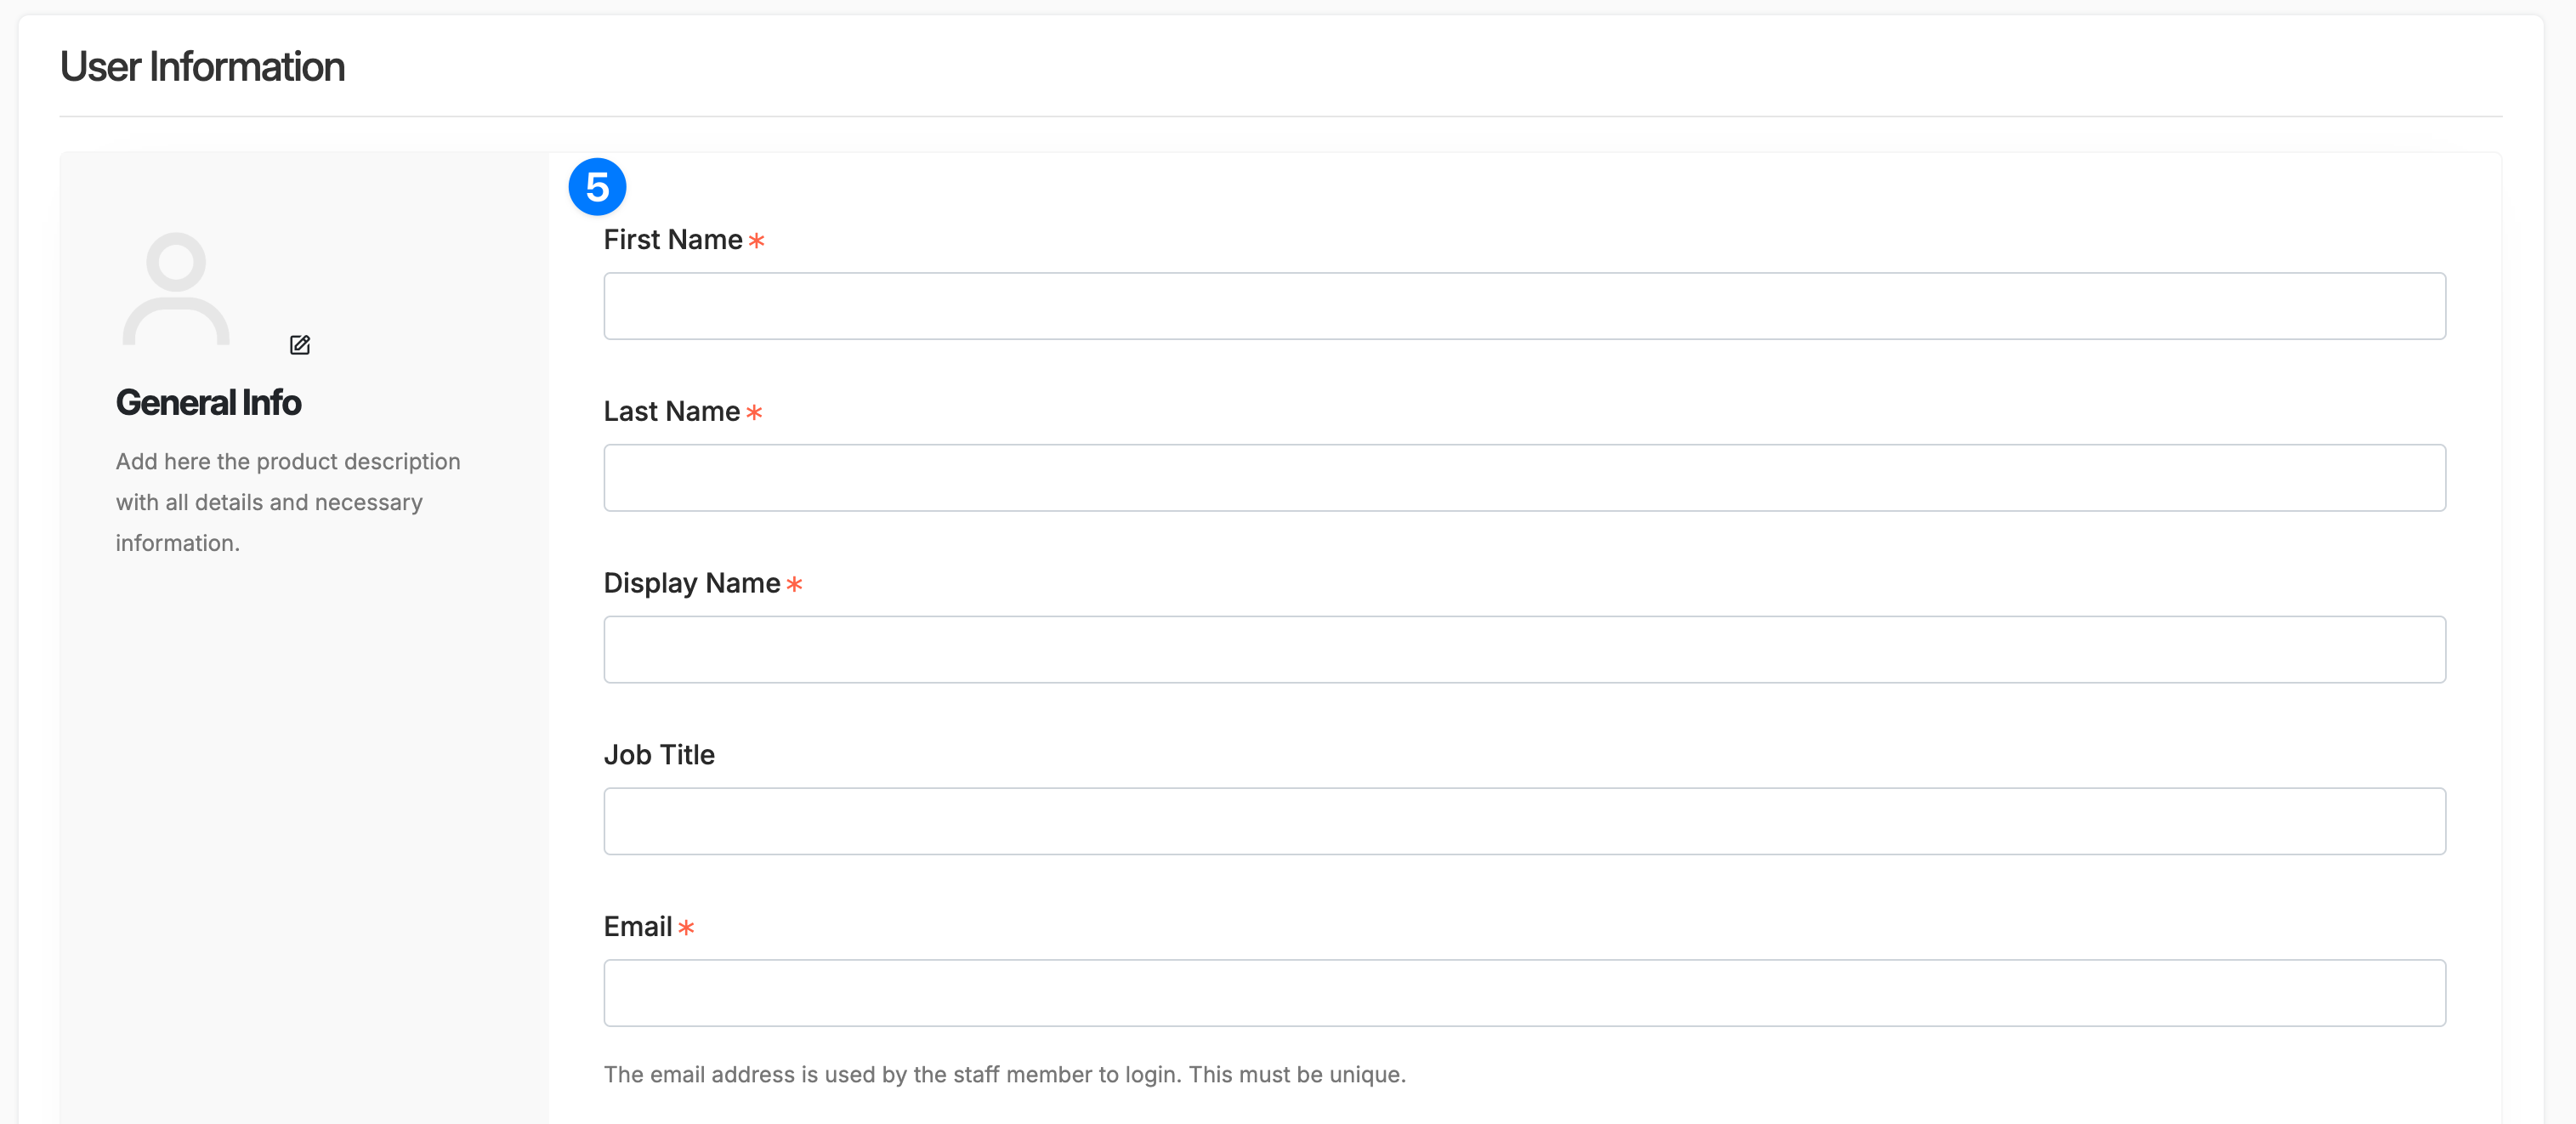
To set a User’s profile image, click the pencil icon (see image below) and upload the User’s image. If an image is not set, then the User’s initials will be used in place of an image (e.g. John Smith’s profile image section would just show JS).
Enter/Edit the User’s Information #
In this section, fill in all the required details for the user such as name, job title etc. The email address used here must be unique and is used to login to the user’s account.
Multi Company/Store Options #
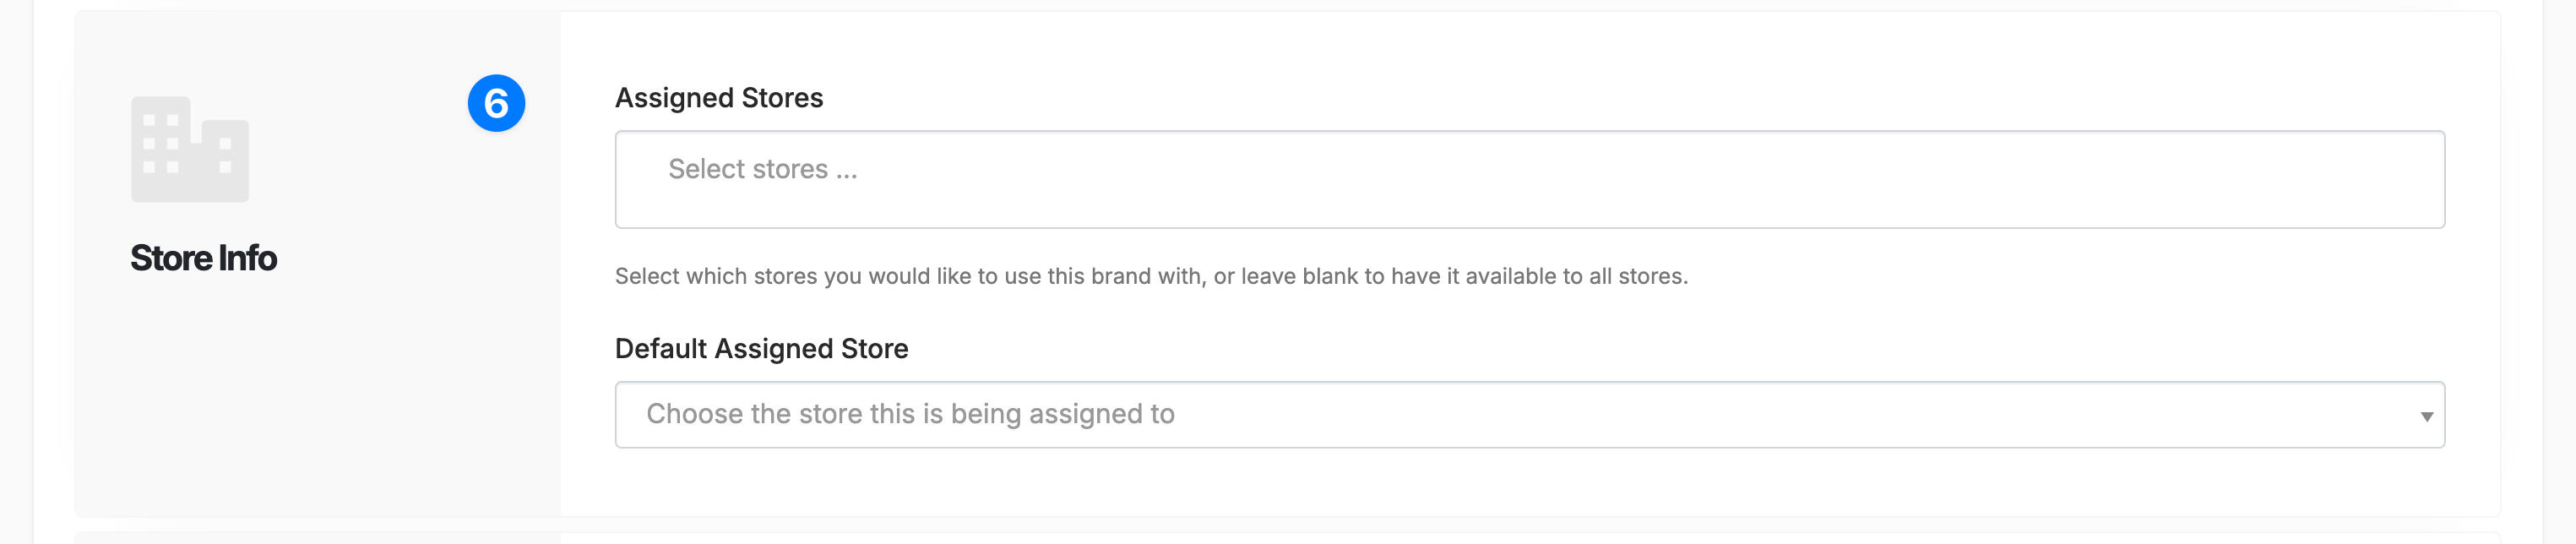
If you are using a multi-company or multi-store setup, you will see the section below where you can add a user to companies or stores. If you leave these blank, the user will have access to all companies and stores. To only allow access to particular companies or stores, select them here.
User Roles #
Here, you can choose which role to assign to the new User. The role chosen will dictate what the user can and can not edit or view throughout the software. By default, Repair Pilot comes with 2 roles – Super Admin and Technician. You can create your own User Roles if required, choosing which areas of the software a User can access. Please see the User Role Management help document for more information.

User Notifications #
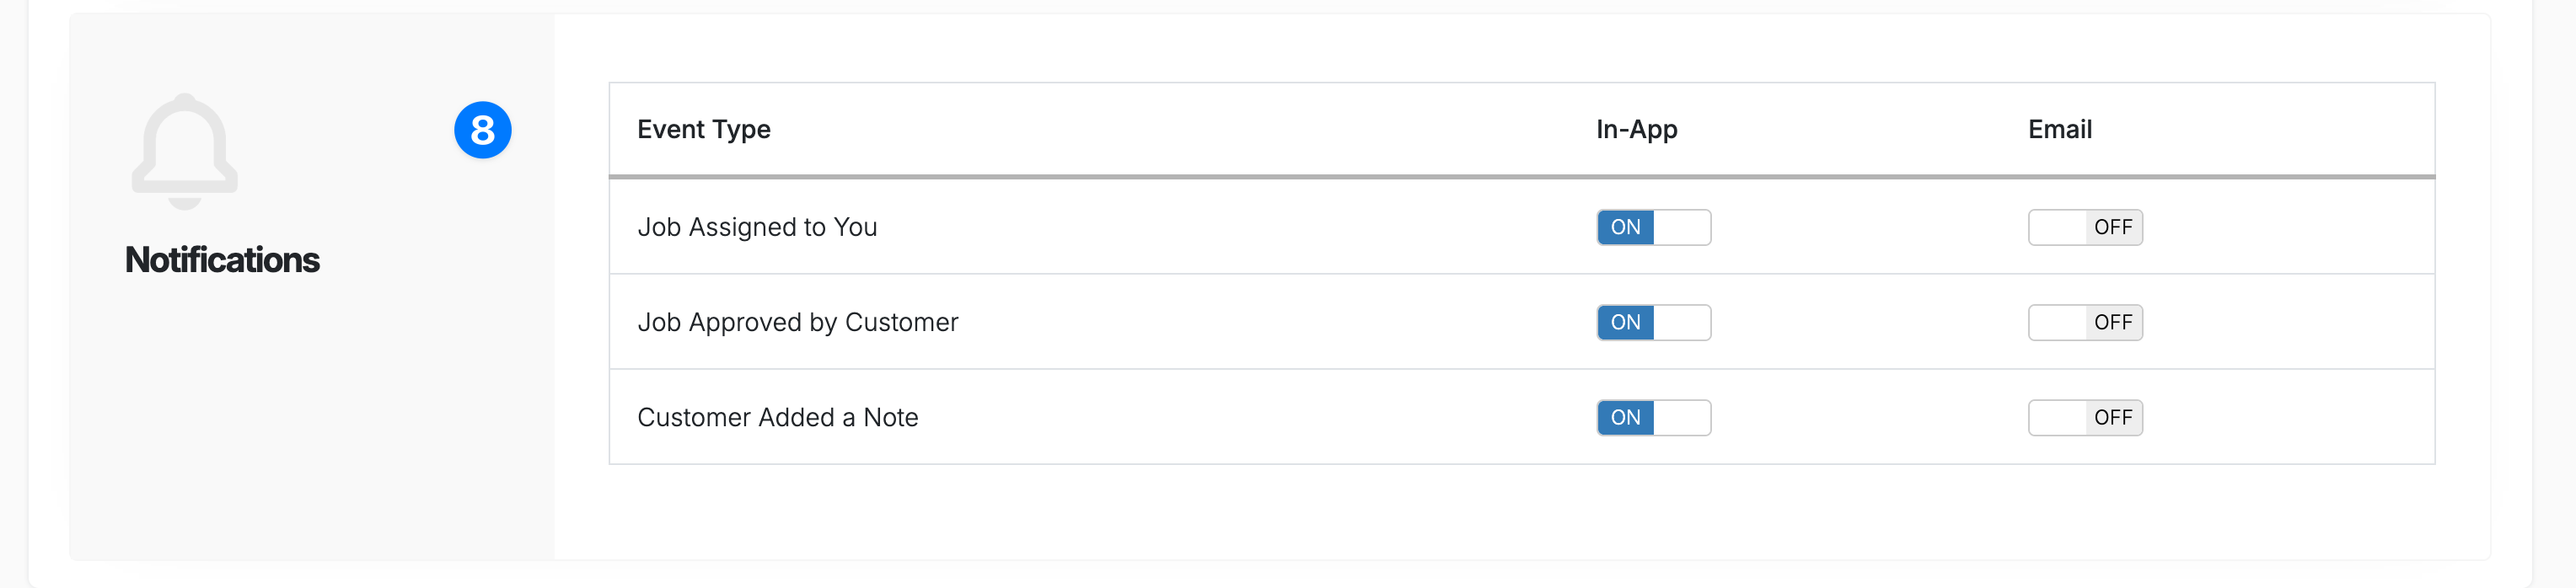
If you require a User to get notifications on certain events, you can choose those here. At the moment, Repair Pilot offers in app notifications, where a user will get a notification at the top of their Repair Pilot screen and Email notifications. You can choose which you would prefer here.
Save the New User #
Once you have finished adding/editing the User’s details, please make sure you click the Add New/Save button at the bottom right of the screen. If you are adding a new user, you will have the options of sending the new user an invite email to set a password and login to their new account.


